-
How to Scan and Swap Contacts
Connecting is as simple as scanning a QR code. Follow these steps to access your QR scanner and start swapping details.
-
- Launch the App: Open the Eventleaf Guide app on your smartphone, tablet or Windows PC.
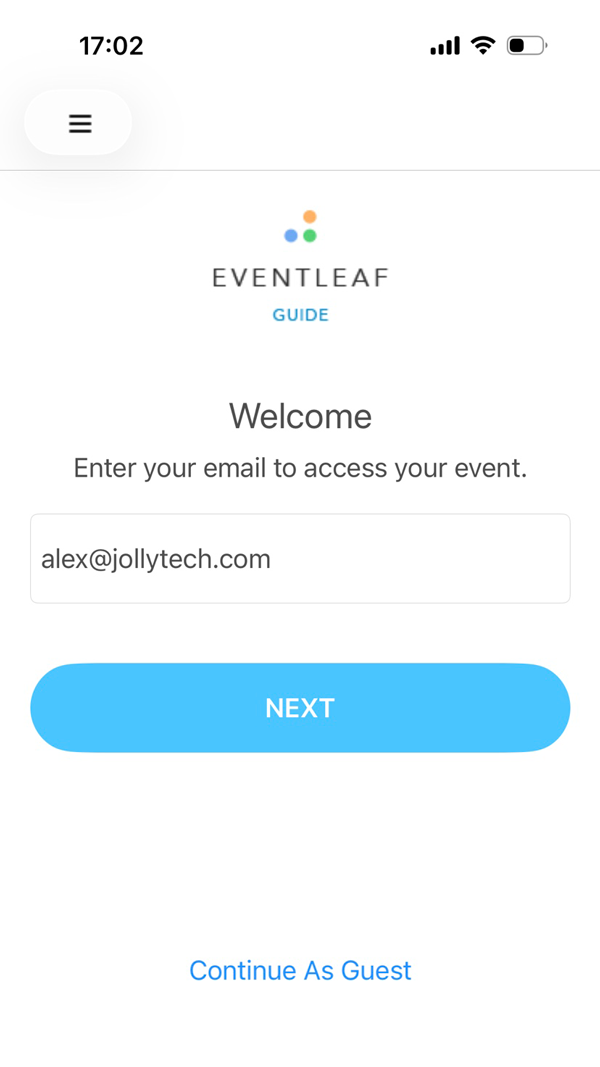
- Log In: Enter your email and password, then click LOG IN.

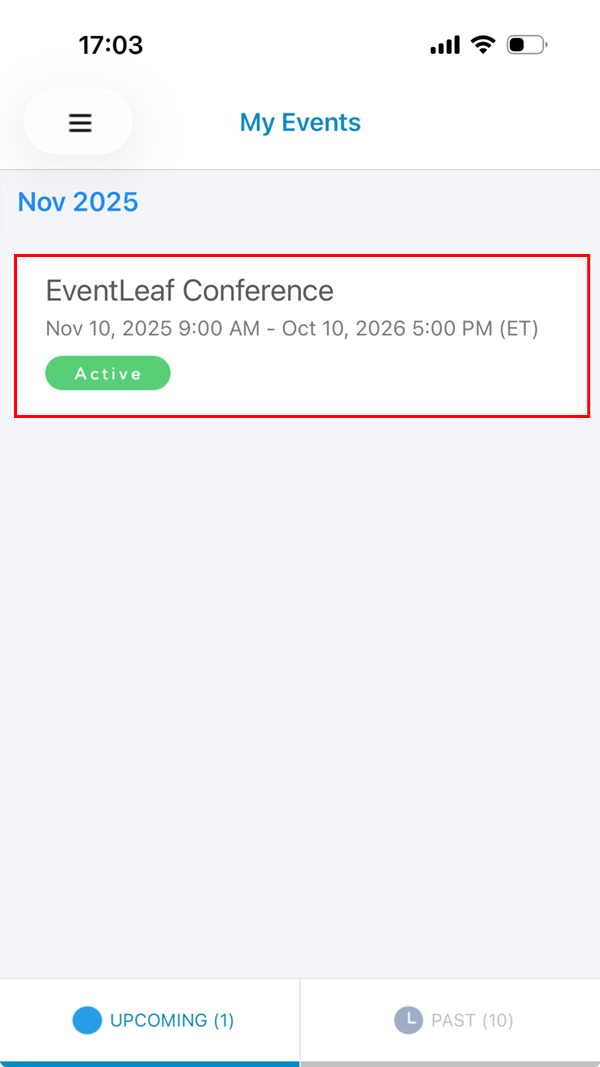
- Select Your Event: Tap on the specific event you are attending to enter the main dashboard.
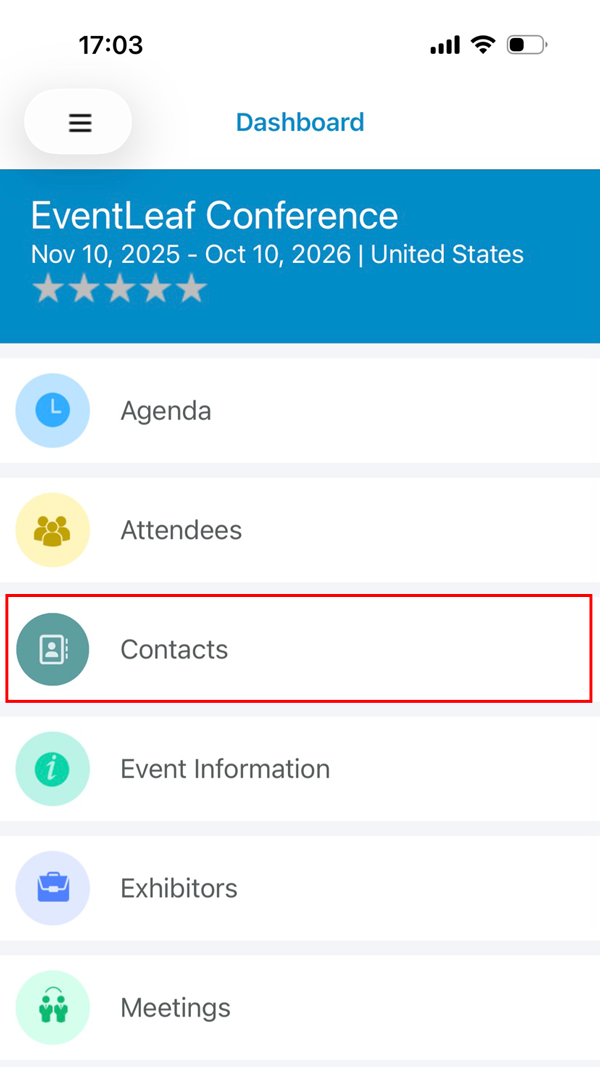
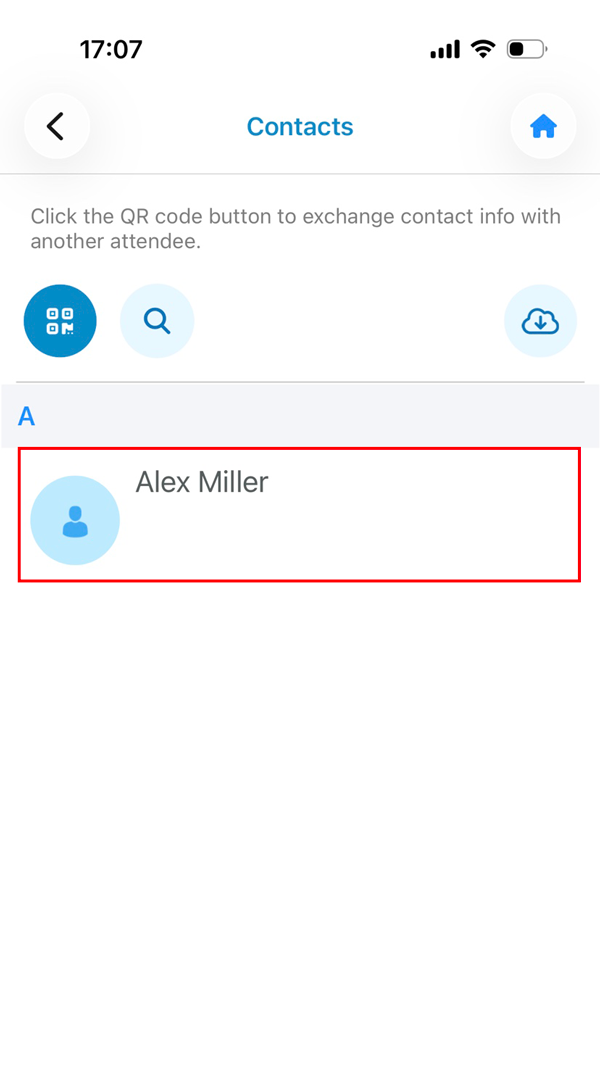
- Go to Contacts: Click on Contacts once you are in the event.
- Open the Scanner: Click on the QR code icon on top-left of the app’s screen.
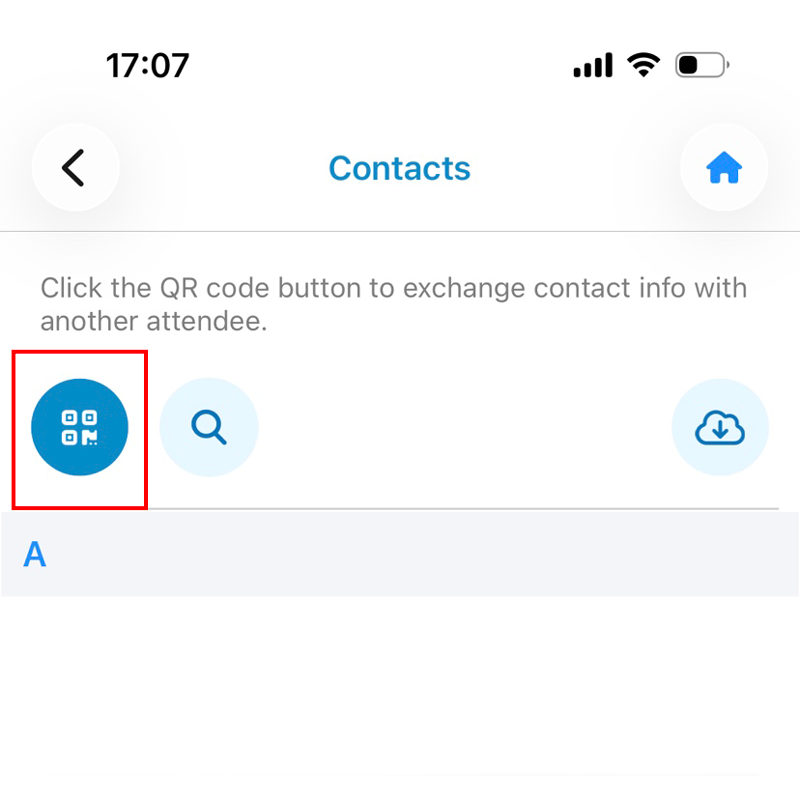
Choose Your Mode: You will see two options:
- Scan QR Code: Select this to open your camera and scan someone else's badge or app.
- My QR Code: Select this to display your own unique code for someone else to scan.
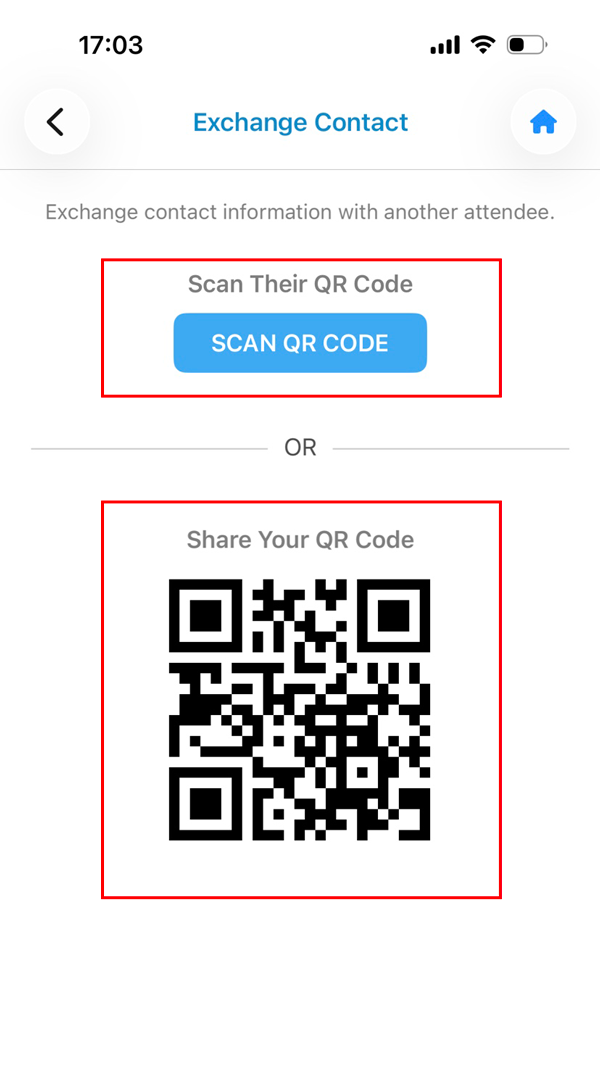
- Scan the QR Code: Point your camera at the other attendee's code. Once the app recognizes it, their profile will automatically appear in your Contacts list.

- View and Confirm: After clicking the SCAN QR CODE button, you should be able to scan a QR code using your device’s camera.
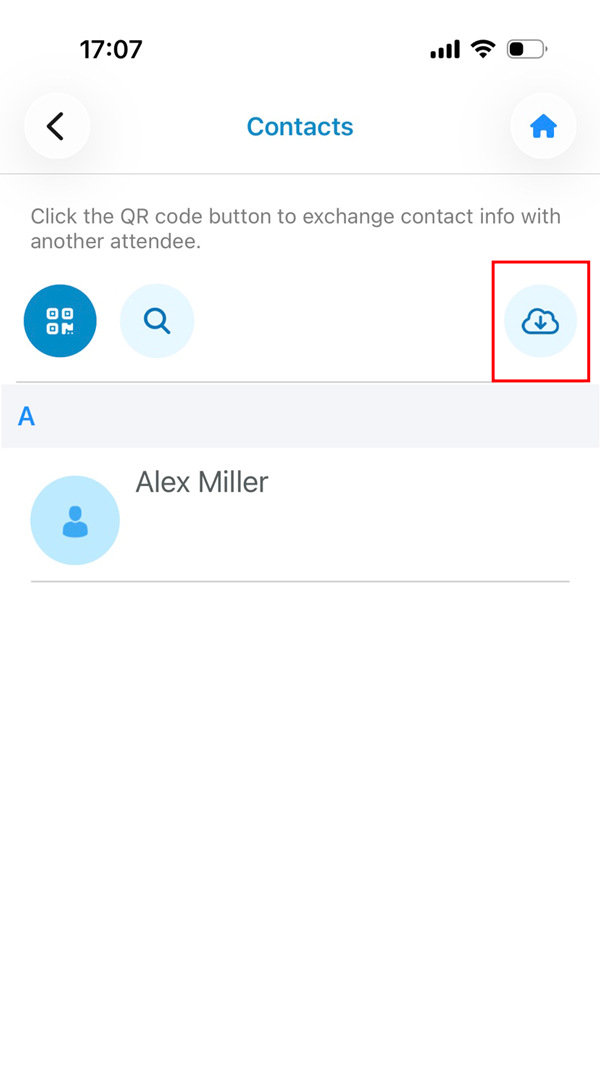
- Tap the Cloud Icon: You can also export the list of all contacts by clicking on the Cloud icon on top right of the acreen.
- Send the Data: Enter your email address and select the file format, CSV or Excel. Click on send.
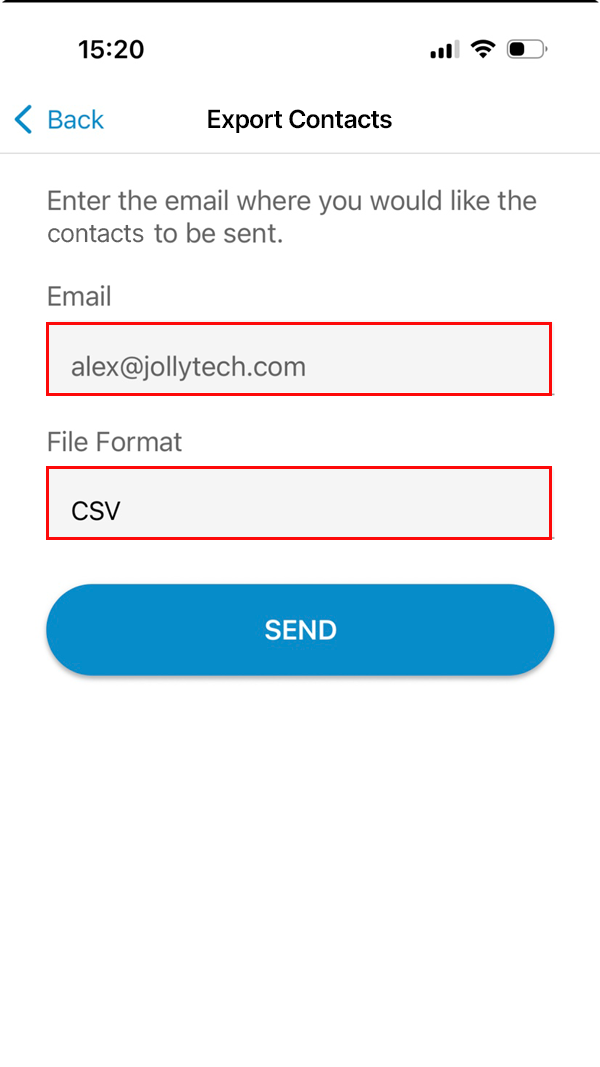
- Retrieve Contacts: You will receive an email with an attachment to view all exported leads. Click on the attachment.

Getting Set Up
Swapping Contacts
Exporting Your Leads
- Launch the App: Open the Eventleaf Guide app on your smartphone, tablet or Windows PC.
-
Real-Life Use Cases: Why You Should Scan Instead of Type
Why use the app instead of just adding someone on LinkedIn right away? Here is how the Contact Swap feature fits into a real event environment.
-
The "Hallway" Bump
You run into a potential partner in the hallway between sessions. You only have two minutes before the next keynote starts. Instead of fumbling to type their name into your phone or spelling out your email address, you both pull up the app, scan, and boom—you’re connected. You can follow up later when you have more time.