-
How to use Self-service Portal for Speakers
- Login to your Eventleaf account and open an existing event.
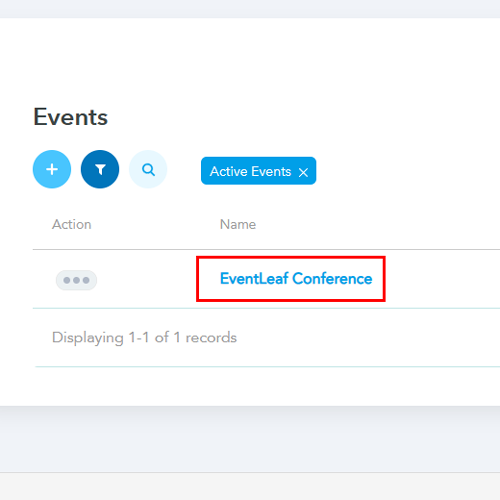
- From the tabs on the top, click Event Info.
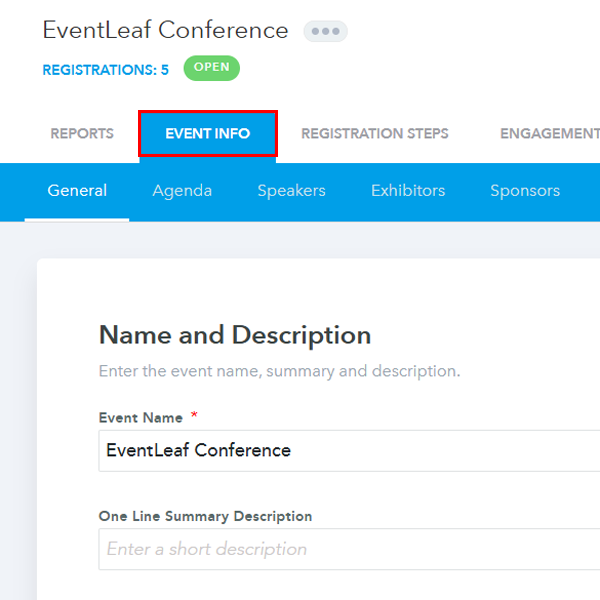
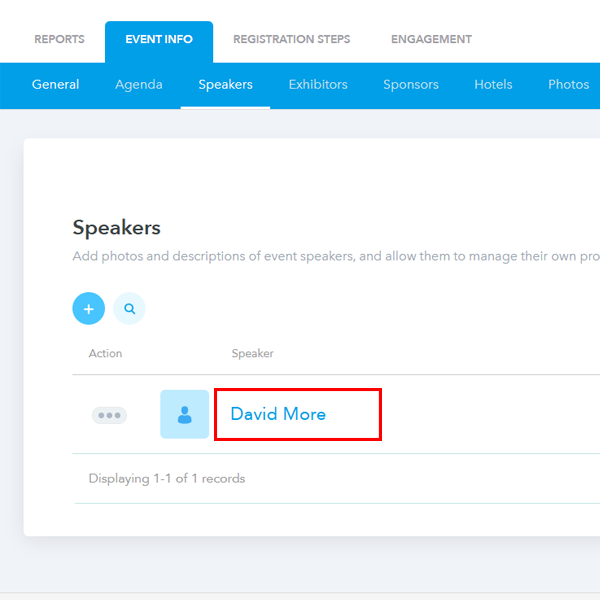
- Click on Speakers and then click any of the speakers in the list.
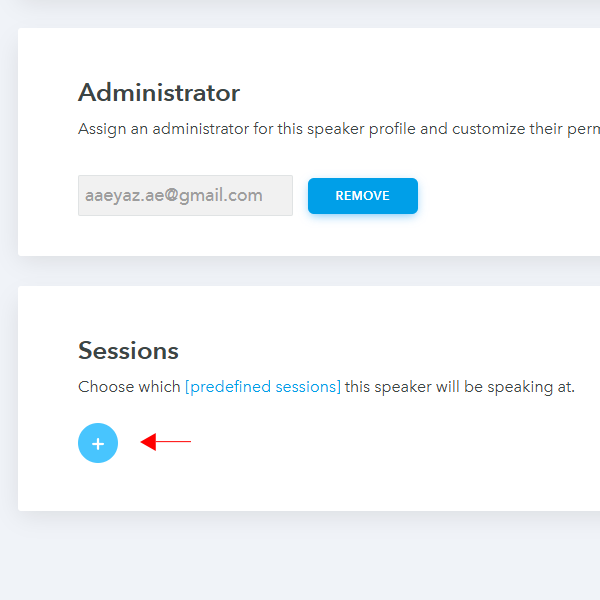
- Scroll down to the Administrator section and click on Add Administrator.
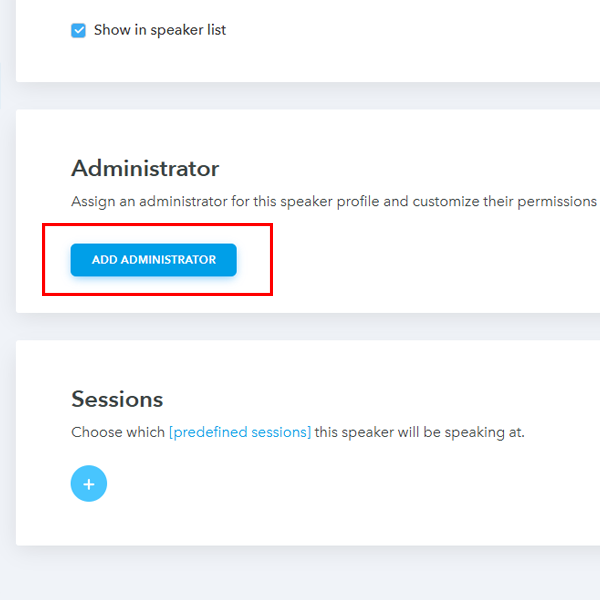
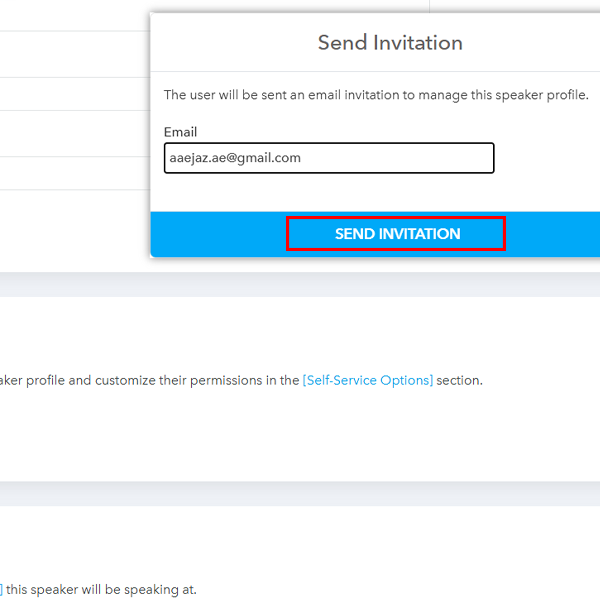
- Enter the email of the speaker who would need access to making changes to the
administrator profile and click on Send Invitation.
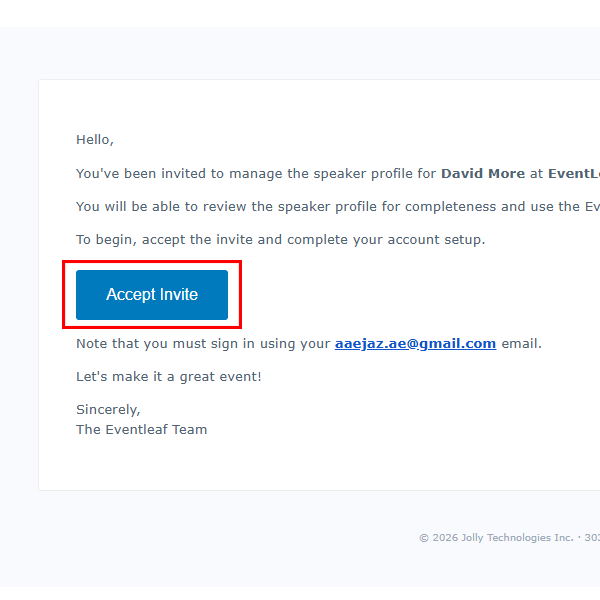
- Click on the Accept Invite link on the invitation email received.
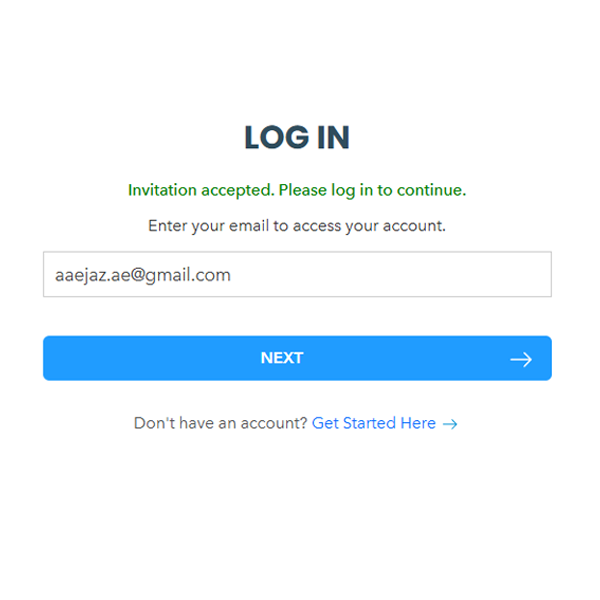
- Login using the email and you should be able to access the self-service portal for
speakers.
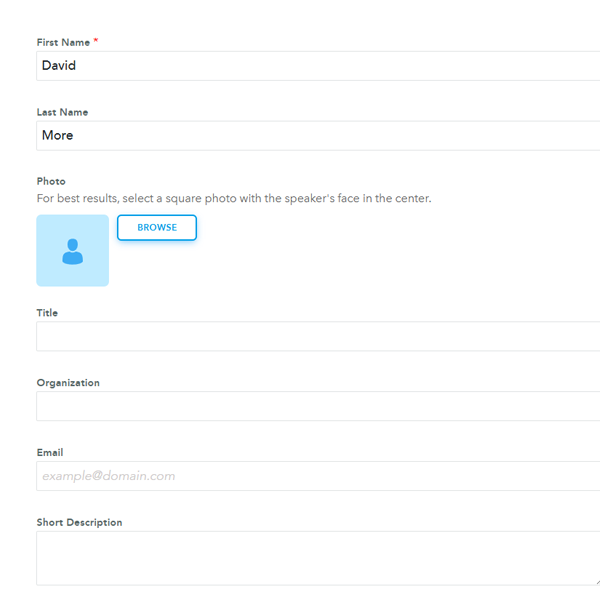
- You should be able to update your information such as name, title, picture,
description, profile links, etc.
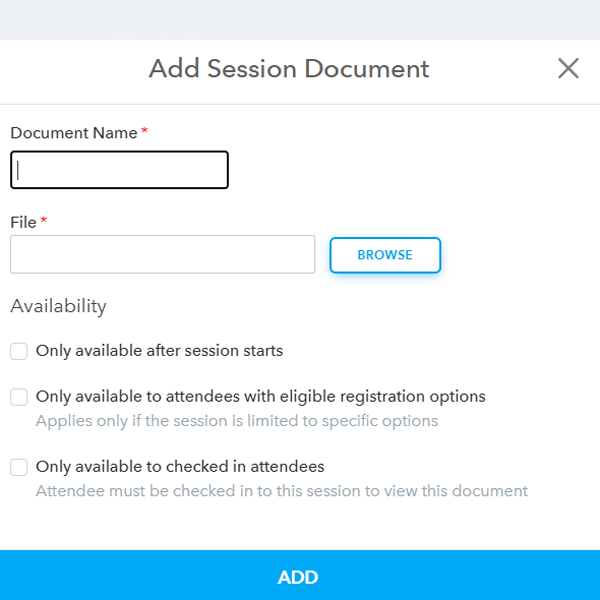
- Scroll down to the Sessions section and click on the 3 dots icon. Click on Add
document to attach any document to the session.
- Add document name, attach the file and select the availability option.
- Login to your Eventleaf account and open an existing event.
-
Real-Life Use Cases
- 1. The Last-Minute Bio Change: A keynote speaker just received a major award or a promotion two days before your conference. Instead of emailing you to update their bio on the website, they can log in and add the new accolade instantly, ensuring their introduction is accurate.
- 2. Sharing Large Presentation Files: Emailing large PowerPoint or Keynote files often leads to bounced emails or "file too large" errors. The self-service portal acts as a direct dropbox, allowing speakers to attach their heavy slide decks directly to their session slot for attendees to download.
- 3. Networking & Social Reach: Speakers often want to grow their following. By giving them access, they can ensure their LinkedIn, Twitter/X, and website links are correct, making it easier for attendees to connect with them after the event.