-
- Log in to your Eventleaf account and click on the event where you need to create custom badges based on the attendee type.
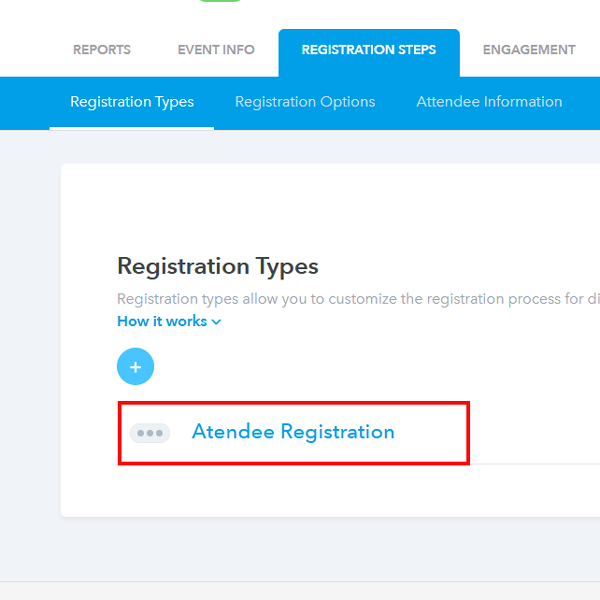
- Head over to the Registration tab and look for Registration Steps. This is where your different attendee groups live. Click on the specific group you want to style first (for example, "VIP" or "Speaker").
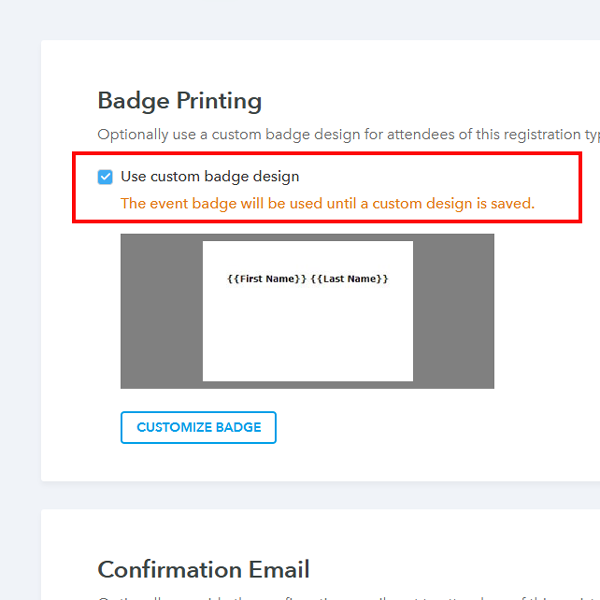
- Scroll down until you see the Badge Printing section. You will see a checkbox labeled Use Custom Badge Design. Go ahead and check that.
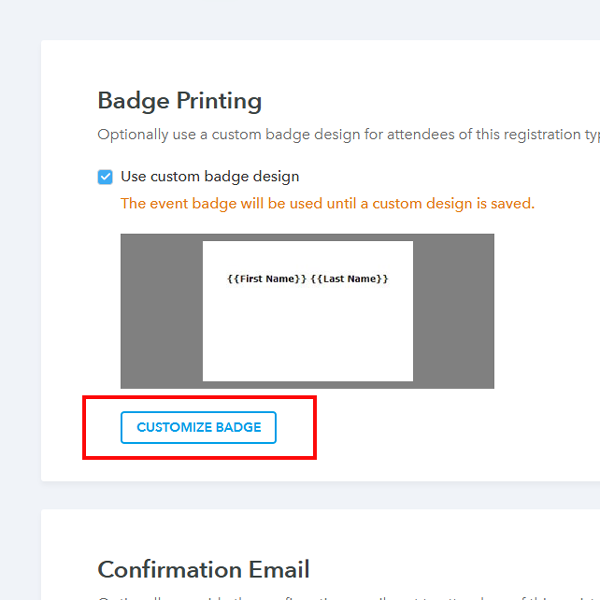
- Click the Customize Badge button. This opens up the design tool.
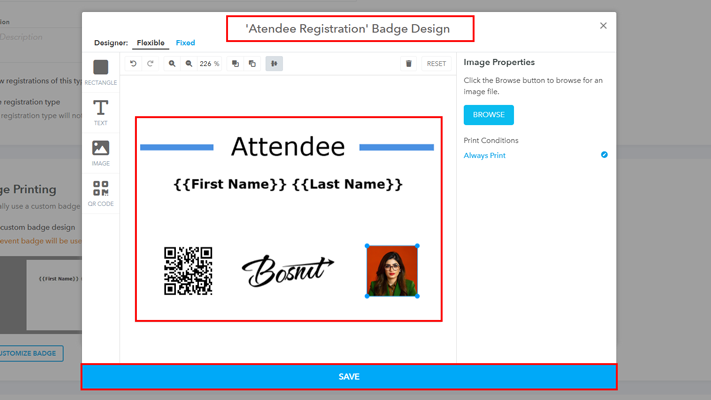
- You will see on the top the name of the registration type along with different options to customize the badge. You should be able to add different variables based on the attendee information, such as:
- upload images/logs,
- draw a rectangular shape,
- add a QR code, and
- adjust the size of the badge.
Once you are ready, hit Save.
- If you want to create a simpler badge with a logo and essential information about the attendee, you can use the Fixed option as well by clicking on 'Fixed'.
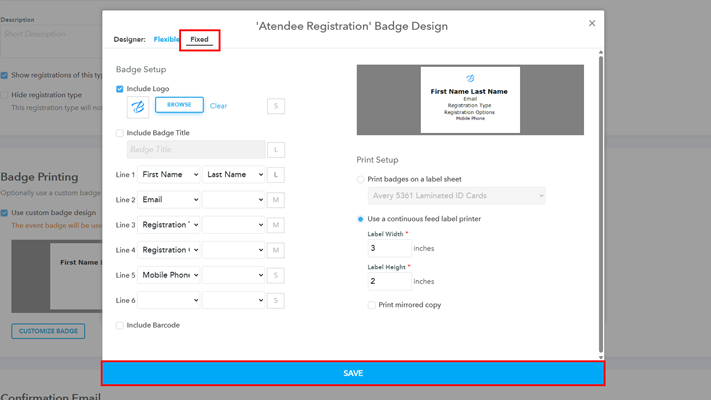
- Under 'Fixed' you can add information for the attendee.
- Once your badge is ready, you can move to the other registration types and customize the badge for that as well.
- Log in to your Eventleaf account and click on the event where you need to create custom badges based on the attendee type.
How to Create Custom Name Badges by Attendee Type
Practical Use Cases
Not sure why you'd need different designs? Here are a few scenarios where this feature is a lifesaver:
- Special VIP Badges: Give your VIPs a badge with a black background and gold text. It looks premium and alerts staff immediately that this person has access to the executive lounge.
- Speaker Visibility: Speakers are often swarmed after a session. Add a large, bold "SPEAKER" header or a distinct color bar to their badges so attendees can spot them in a crowded hall.
- Sponsor Recognition: If someone bought a "Sponsored Ticket," you can automatically include the sponsor's logo on their badge, giving your partners extra walking advertising.