How to Collect Session Feedback
-
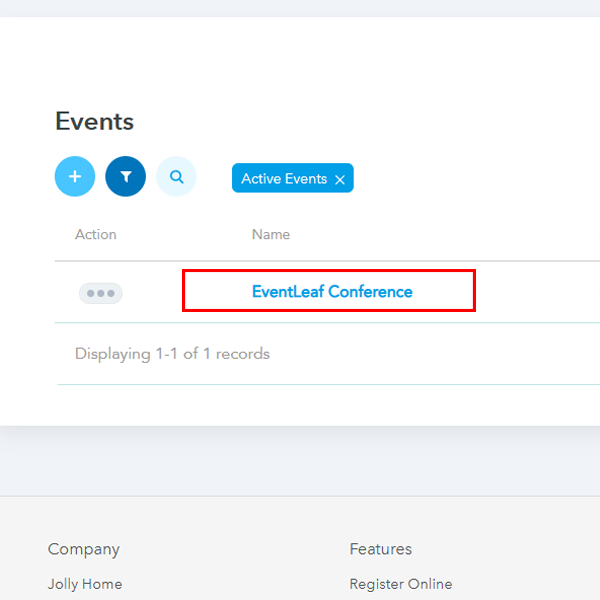
1. Log in to your account on eventleaf.com and click on the event where you would want to enable feedback for a session.
-
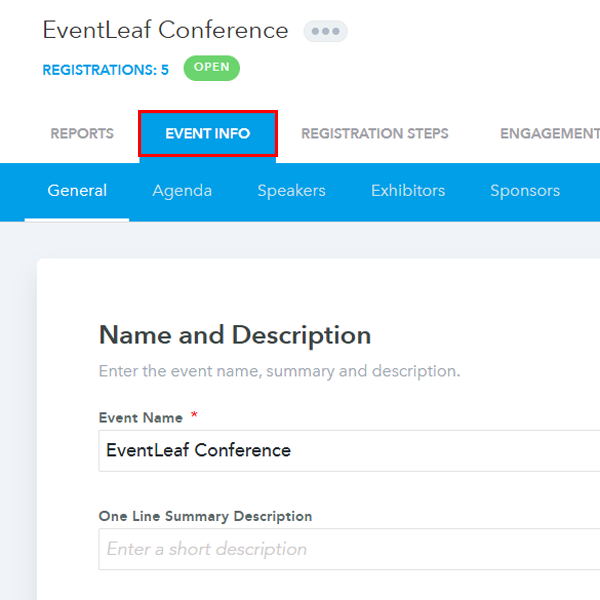
2. Go to “Event info” tab.
-
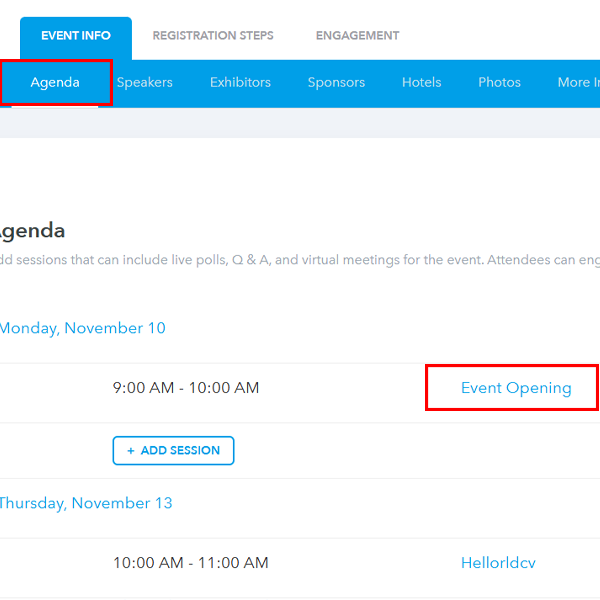
3. Go to “Agenda” and then click on the session you want to set up the feedback for.
-
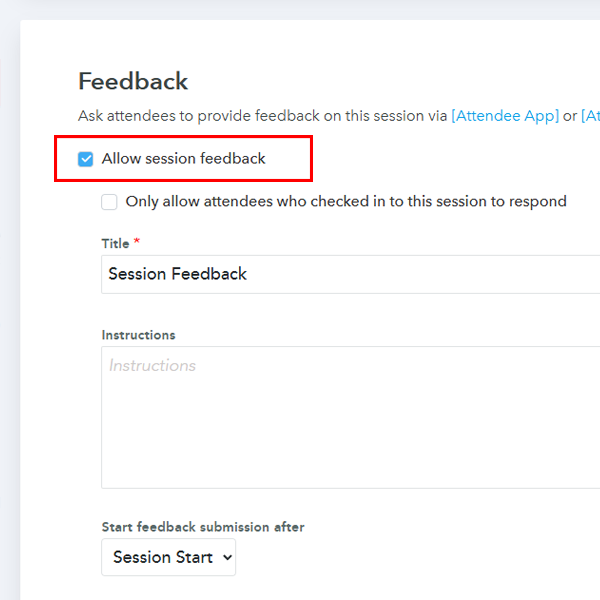
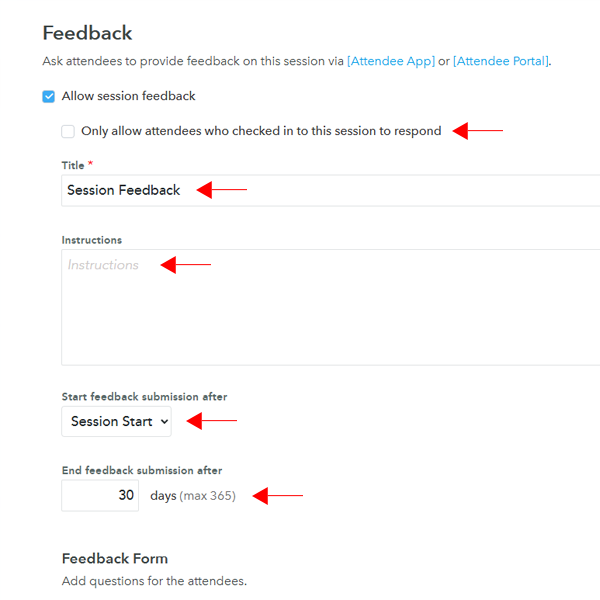
4. Scroll down until you see the Feedback section. You will see a checkbox labeled Allow Session Feedback. Go ahead and check that.
-
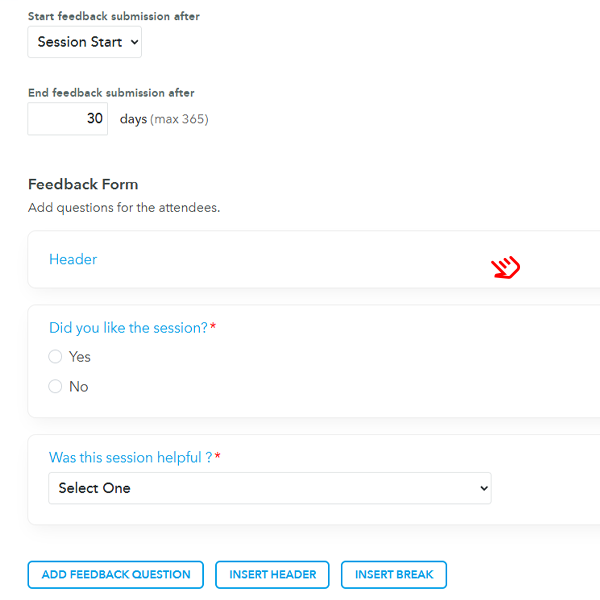
5. You should be able to type the Title, Instructions, and configure settings under Start Feedback Submission After (Session Start or Session End), End Feedback submission after (Number of days) and allow only those attendees who have checked into the session.
-
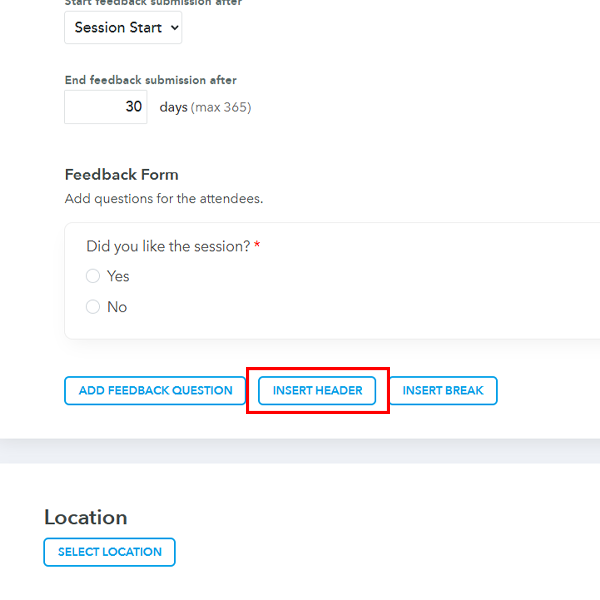
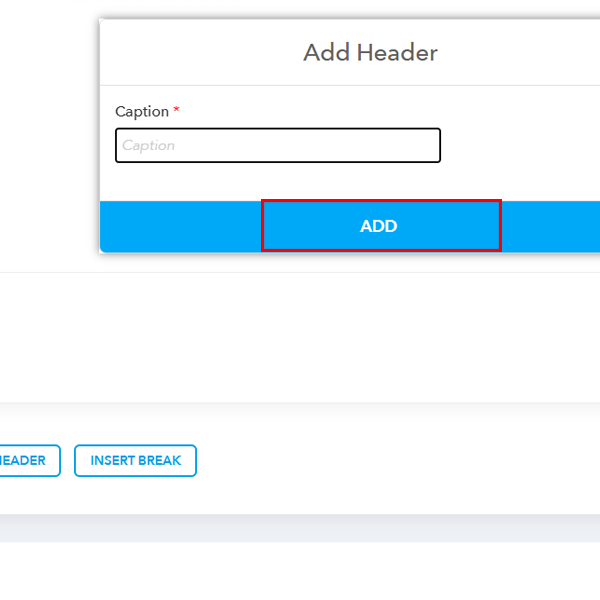
6. You can configure the set of questions under the Feedback Form section. You can start with configuring the header.
-
7. You can type the header title and click on Add.
-
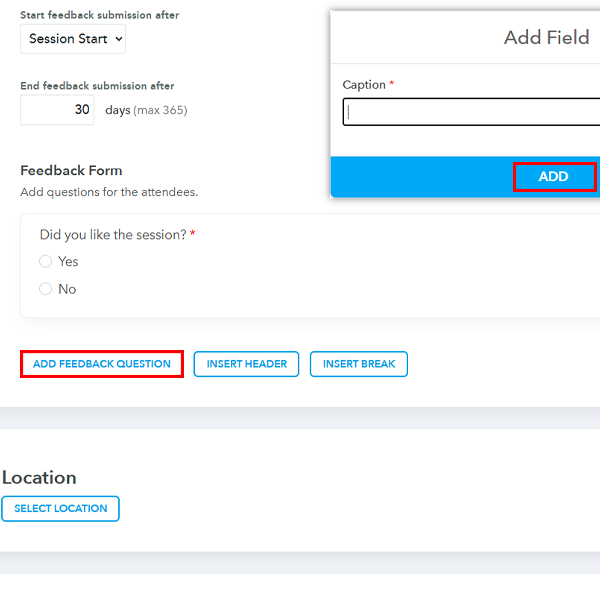
8. Click on Add Feedback Question to start adding questions to your feedback form.
-
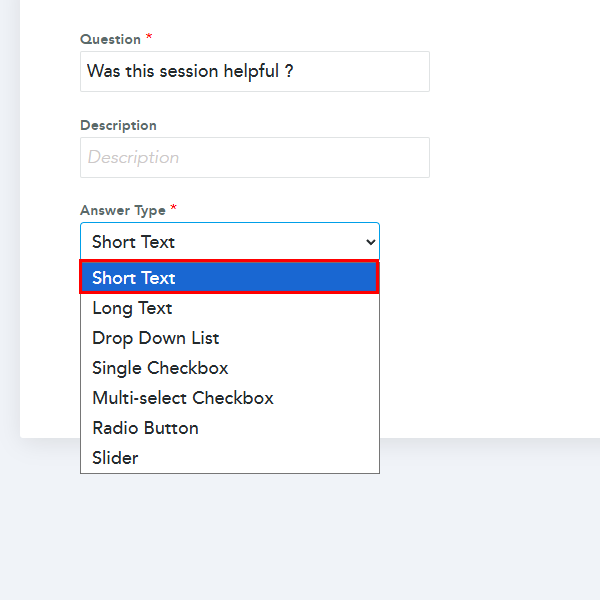
9. Once the caption has been added, you can add Description along with the type of answer you want.
-
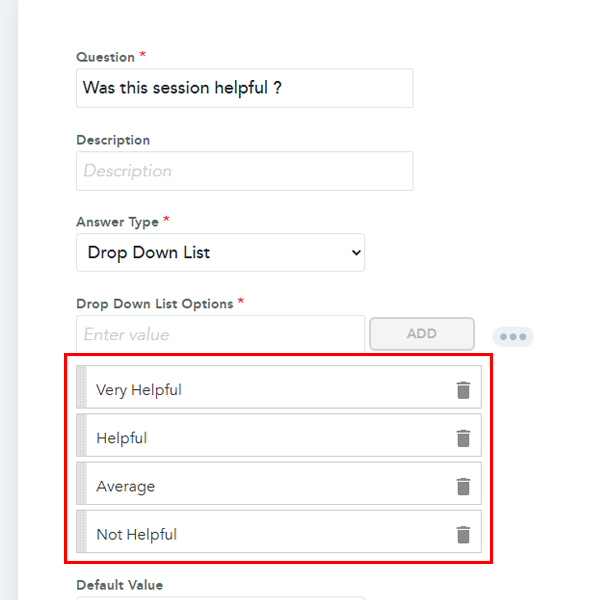
10. If you select the Drop Down List, you should be able to add different options. You can also make this question mandatory.
-
11. Once all the questions have been added, you may also drag them to the correct position by holding the section.
Real-Life Use Cases
- 1. Better Content for Future Events: An organizer notices that technical deep-dive sessions consistently receive higher ratings than high-level overview panels. Using this data, they adjust the next year's agenda to focus more on hands-on workshops, resulting in higher ticket sales and attendee satisfaction.
- 2. Speaker Evaluation & Selection: A conference host uses specific rating questions (e.g., "Rate the speaker's knowledge of the topic") to evaluate guest presenters. This quantitative data helps them objectively decide which speakers to invite back and which ones didn't resonate with the audience.
- 3. Continuing Education Credits: For professional training workshops, organizers often need proof of engagement to award credits. By enabling the "limit to checked-in attendees" setting and making the feedback form mandatory, the feedback submission serves as a secondary verification of active participation.